|
Trellian ImageMapper 1.0 - User Guide and FAQ
Screenshots - More Details
Creating an Image Map using Trellian ImageMapper
- Click the File menu and select New Image Map.
- Locate an image to use in the file browser window and click Open. Image mapper will open the image.
- Select a shape of the clickable region from the toolbar. The available shapes are rectangle, circle and polygon.
- Click the image and drag the mouse to create a clickable region. A rectangle's bottom right corner will be at the initial click point and the circle's top left area will be at the initial click point.
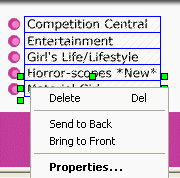
- To resize the region click and drag any of the green squares surrounding the region. The entire region can be moved by clicking inside the region and dragging the region to the desired location.
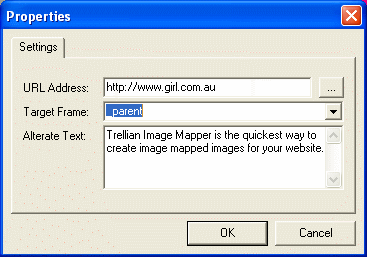
- To set the URL and ALT tags for the region right click the image and select Properties or click the Properties button on the toolbar.


- To create another clickable region simply repeat the above steps. The clickable regions can be layered using the "Send Region to Back" and "Bring Region to Front" buttons.
Screenshots - More Details
|


