 How to create a virtual machine for Mac? How to create a virtual machine for Mac?
This page will show you how to create a virtual machine for Mac step by step with Parallels Desktop for Mac.
Parallels Desktop for Mac is a powerful and easy-to-use virtualization software for Intel®-based Macs and is designed to work with a wide range of operation systems.
Parallels Desktop for Mac enables you to run Windows, Linux, and more side-by-side with Mac OS X on any Intel-powered Mac, without rebooting. With Parallels’ award-winning virtualization technology, you can run Mac OS X and your favorite Windows applications at the same time. You can even drag-and-drop files between desktops!
Note: You need a complete, fully licensed copy of Windows XP or Windows Vista. You may use an installation CD or an ISO image of the installation CD.
Step1. Please download Parallels Desktop for Mac and run it on your Apple computer.
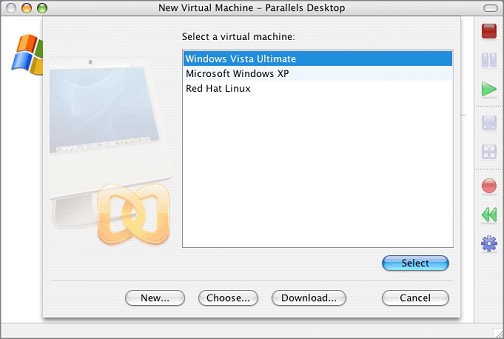
Step2. Parallels Desktop for Mac main window appears. Parallels Desktop for Mac is browsing files on your computer for existing virtual machines. If Parallels Desktop for Mac cannot locate any virtual machine on your Macintosh computer, the Welcome window of OS Installation Assistant appears. If Parallels Desktop for Mac locates a virtual machine on your computer, the list of virtual machines appears in the Select virtual machine dialog so that you can select and open any of them.
To create a new virtual machine, click the New button, or choose New from the File menu, and you will see the Welcome window of OS Installation Assistant.
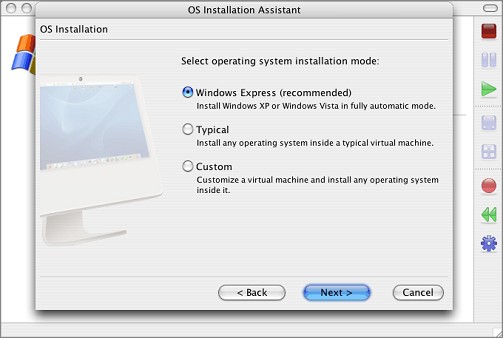
Step3. In the Welcome window, select the Windows Express option and click Next.
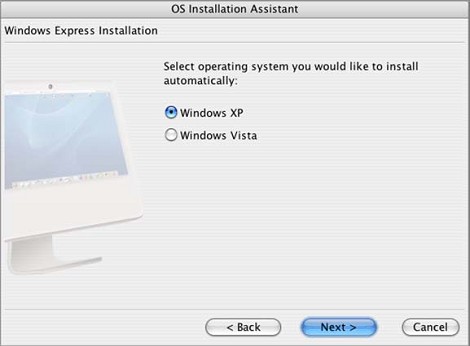
Step4. Select the Windows operating system to be installed and click Next.
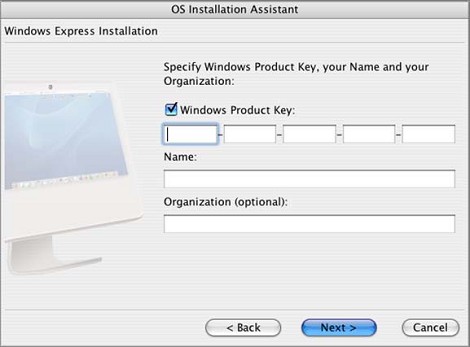
Step5. Enter the Product Key for your copy of Windows and your Name. You can also enter the name of your Organization. Click Next.
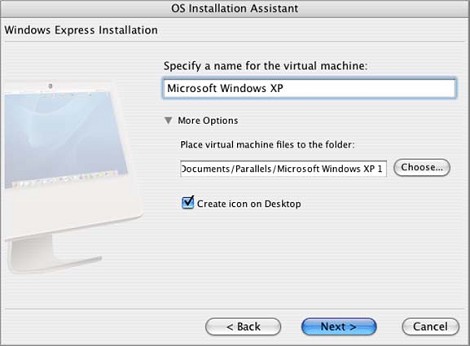
Step6. Specify a name for the virtual machine as you want it to appear in the list of available virtual machines on the Select virtual machine dialog. By default, the virtual machine is named by the guest operating system. Click More Options, if you want to choose other than the default location for the virtual machine.
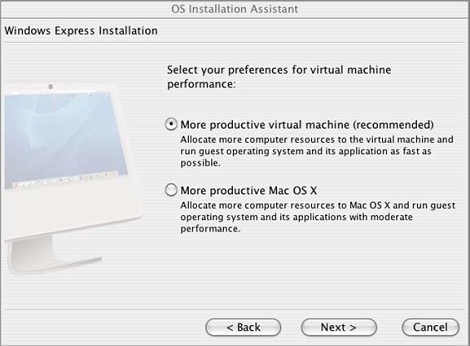
Step7. Choose the preferable way of allocating the computer resources: to the virtual machine or to Mac OS X.
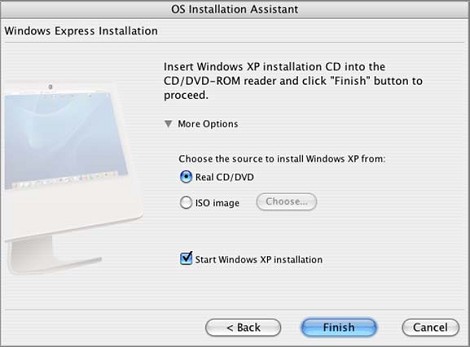
Step8. If you want to use an installation CD, insert the disc into the CD/DVD-ROM drive of your computer. If you want to use an ISO image of the installation disc:
- Click More Options and select the ISO image option.
- The Choose button becomes enabled. Click it to locate the ISO image file.
Make sure that the Start Windows XP Installation check box is selected and click Finish.
Step9. The OS Installation Assistant creates the virtual machine and installs Windows XP or Windows Vista operating system in it. This process takes approximately one hour.
Note: During the guest OS installation, the input of keyboard and mouse is captured inside the virtual machine. To release the keyboard and mouse input for Mac OS X press Control+Alt or Control+Option(Alt). To capture the input again in the virtual machine, click inside the virtual machine window (guest OS window).
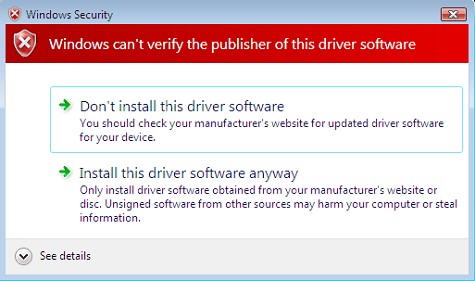
Step10. After installing the Windows operating system, OS Installation Assistant installs Parallels Tools in the newly created virtual machine. You need to confirm Parallels Tools installation, when prompted. During Parallels Tools installation you need to confirm the installation of so-called unsigned drivers. Always choose Install this driver software anyway.
Step11. When the installation is complete, either eject the installation disc or disconnect the ISO image of the installation disc. See below for details.
Step12. To protect your new virtual machine, from the Actions menu choose Install Kaspersky Internet Security. This feature is available for both Windows XP and Windows Vista.
Step13. During the Express Installation, Parallels Desktop creates an administrator account with a blank password. To learn how to change the administrator password, open the Help menu and choose Parallels Desktop Help -> Creating a Virtual Machine -> OS Installation Assistant -> Windows Express Installation.
- Ejecting CD/DVD Disc
* Press the Eject key on your keyboard (a triangle with a line underneath). If you are using a keyboard that does not have an Eject key, drag the CD/DVD disc icon to the Trash to eject the disc.
* In Windows, open the My Computer folder, right-click (Control-click) the CD/DVD disc icon, and choose Eject from the shortcut menu.
- Disconnecting ISO Image
Right-click the CD/DVD-ROM icon located at the bottom of the Parallels Desktop window, and select Disconnect in the menu.
More Mac Software:
 Mac
Software - Audio & video software for Mac, Parallels desktop for Mac, Flash software & graphic software for Mac etc. Mac
Software - Audio & video software for Mac, Parallels desktop for Mac, Flash software & graphic software for Mac etc. |
 Mac
Video Tools - Mac DVD ripper, Mac DVD
to iPhone iPod MP4 video converter, Mac DVD copy, Mac DVD Creator etc. Mac
Video Tools - Mac DVD ripper, Mac DVD
to iPhone iPod MP4 video converter, Mac DVD copy, Mac DVD Creator etc. |
Related
Software Step by Step Guides and Tutorials:
How to Backup a Nokia phone,backup mobile files and mobile settings?
How to Backup Blu ray disc to hard driver and copy Blu ray movies?
How to Backup Computer in Windows with Keriver Image?
How to Copy PS2 game, Burn PS2 game and play legal backup copies?
How to Back up a Windows 7-based Computer?
How to Back up a Windows Vista-based Computer?
How to Back up a Windows XP or Windows Server 2003-based Computer?
|

 RSS Feeds
BBS Forum

 RSS Feeds
BBS Forum
